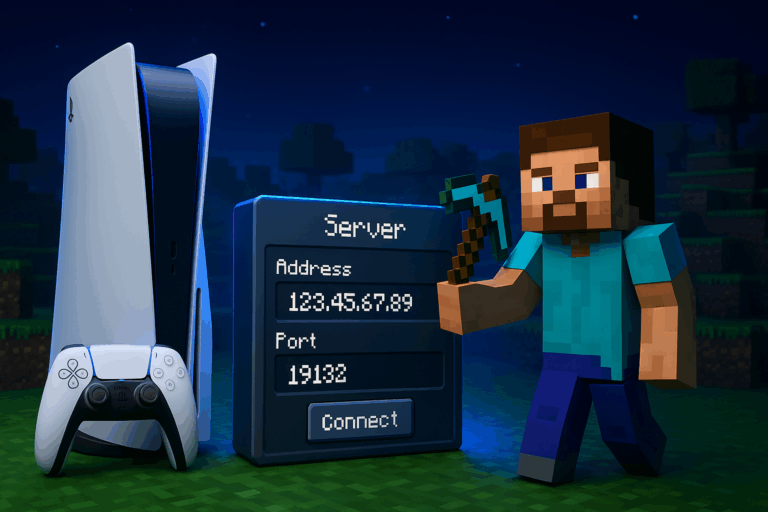
Want to join a Minecraft Bedrock server from your PS4/PS5? You can, with a quick DNS tweak and the right server details. Need stability? Check our optimized Minecraft hosting.
Prerequisites
- PS4 or PS5 with Minecraft Bedrock updated
- PlayStation Network account with PlayStation Plus (required for online multiplayer)
- Internet access via Wi‑Fi or Ethernet
- BedrockConnect DNS:
104.238.130.180 (primary) and 1.1.1.1 (secondary)
- Your server address and port (e.g.,
123.45.67.89 and 19132)
- If using Oxygenserv: find IP/port in your panel and ensure the server is running
Step-by-step
-
Open your PlayStation network settings
From the PlayStation home, go to “Settings”. On PS5: “Network” > “Settings” > “Set Up Internet Connection”. On PS4: “Network” > “Set Up Internet Connection”. Highlight your active connection (Wi‑Fi or LAN), press Options, then choose “Advanced Settings”. You’ll see IP, DNS, MTU, and Proxy fields.
-
Switch DNS to Manual and enter BedrockConnect
In “Advanced Settings”, go to “DNS Settings” and pick “Manual”. Set Primary DNS to 104.238.130.180 and Secondary DNS to 1.1.1.1. Confirm with “OK”. If you get an error, recheck digits and avoid extra spaces.
-
Apply and test the connection
Save the settings and run “Test Internet Connection”. You should get an IP address and Internet access. A “NAT Type 2” (moderate) is ideal for stability. If you see “NAT Type 3”, try Ethernet, reboot your router, or open common UDP ports on your router.
-
Launch Minecraft and open the Servers tab
Start Minecraft Bedrock and hit “Play”. Use R1/L1 to move to the “Servers” tab. You’ll see featured servers and a “Join Server” entry. If the list won’t load, restart the game or double‑check your DNS settings.
-
Select Join, then Connect to a Server
Pick any featured server and select “Join”. You’ll then see the “Connect to a Server” option—this is the bridge to enter a custom server. Select it. If you don’t see it, your DNS change didn’t apply—return to Network settings and ensure “Manual” DNS is active.
-
Enter address, port, and a display name
Fill “Server Address” with your server IP or domain (e.g., 123.45.67.89 or mc.yourdomain.com). Set “Server Port” to 19132 (Bedrock default, UDP) unless your host provided a different one. Add a friendly “Display Name” (e.g., “Oxygenserv Survival”). Tick “Add to server list” to keep it as a favorite, then confirm.
-
Join and verify access
Press “Join Server”. You should see “Connecting…” and then load into the world. If you get “Unable to connect to world”, verify address/port, confirm the server is online and Bedrock (not Java), and check if the server uses an allowlist—ask the admin to add your XUID if needed.
Tips & optimization
– Use Ethernet for lower latency (often 20–40 ms better than Wi‑Fi).
– On Oxygenserv, start the server and copy the exact IP/port; Bedrock default is 19132 UDP. A wrong port means instant failure.
– You can switch DNS back to “Automatic” anytime if another app misbehaves.
– Reserve a DHCP lease for your PlayStation on the router so you don’t have to re‑enter DNS after reboots.
– Keep Minecraft updated; version mismatch can block connections.
FAQ
Do I need PlayStation Plus for Bedrock servers?
Yes. On PlayStation, online multiplayer (servers, realms, friends) requires an active PlayStation Plus subscription. Without it, you’re limited to local play.
Is changing DNS safe?
Using a known DNS like 104.238.130.180 (BedrockConnect) is common and only redirects the server list. Disable anytime by switching DNS back to “Automatic”.
I get “Unable to connect to world”. What now?
Double‑check the address and port (19132 by default), make sure the server is online and Bedrock edition, and confirm allowlist status (get your XUID added if required). Test via Ethernet and restart console/router.
Can I use IPv6?
Avoid it. Most Bedrock servers and home routers rely on IPv4. Use an IPv4 address (e.g., 123.45.67.89) or a domain resolving to IPv4.
Where’s my Oxygenserv server IP/port?
In your Oxygenserv panel, open the Bedrock server page: the IP and port are shown at the top. Copy them exactly and keep the UDP port (often 19132 or a dedicated one).
You’re set to jump into your Minecraft server from PlayStation. Tweak DNS once, save your favorite, and enjoy smooth cross‑platform sessions. Have fun!
Related articles
