
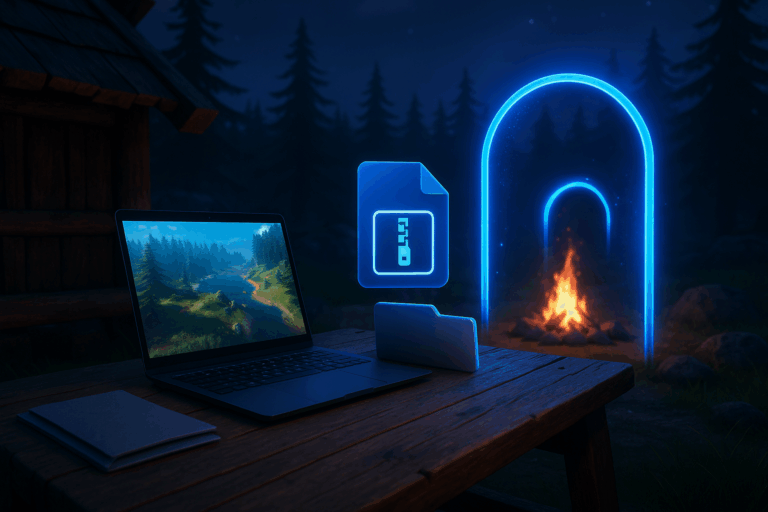
Want to bring your solo Valheim progress to your server and play with friends? Easy win: zip your save, upload it, set the world name, and boot the server.
%USERPROFILE%\AppData\LocalLow\IronGate\Valheim\worlds_local, and hit Enter. On Linux, use ~/.config/unity3d/IronGate/Valheim/worlds_local. On macOS, open ~/Library/Application Support/unity.IronGate.Valheim/worlds_local. If it’s empty, your world is still in cloud or you’re on the wrong user.
MyWorld.db and MyWorld.fwl. Make sure both exist and timestamps match your last session. If only one exists, start and cleanly exit Valheim to regenerate both. Note the base name (e.g., Midgard)—you’ll use it on the server.
.db and .fwl), right-click, and choose “Send to” > “Compressed (zipped) folder.” Name it something like Midgard.zip. The archive must contain the two files at its root (no nested folder). If you see a subfolder inside, rezip correctly.
worlds_local folder. If it doesn’t exist, create it exactly as worlds_local. You might also see a worlds folder (cloud), but for local saves we use worlds_local. Uploading to the wrong place will make the server miss your world.
.zip (e.g., Midgard.zip). After the upload, right-click the archive and choose “Extract” or “Unarchive.” Confirm you now see Midgard.db and Midgard.fwl directly inside worlds_local. If extraction created a subfolder, move the files up to worlds_local.
Midgard). This value is case-sensitive; mismatches make the server generate a new world. Save the configuration.
Midgard.” When you see “Game server connected” and no errors, you’re good. Join in-game and confirm your builds and map are present.
– Back up before each import: copy MyWorld.db and MyWorld.fwl to a dated “backup” folder. A 7-day rotation covers most needs.
– Avoid special characters in the world name to prevent path issues.
– Friends can’t join? Ensure UDP ports 2456–2458 are open to the server. Connecting via IP with port 2457 often helps.
– Modded world? Match the exact same mods server-side (BepInEx/plugins) and client-side.
– The seed doesn’t matter after creation; the .db/.fwl files fully define the world.
The “World Name” doesn’t exactly match your files. Enter the precise base name without extension (e.g., Midgard), mind case, and ensure Midgard.db and Midgard.fwl are in worlds_local. Restart and look for “Loading world: Midgard.”
You need both. Launch the world in solo and exit cleanly (menu > Quit) to force writing both files. If using Steam Cloud, first move the save to local via “Manage saves” > “Move to local.” As a last resort, restore a previous full backup (.db + .fwl).
In Valheim, go to “Manage saves” and click “Move to local.” Then check %USERPROFILE%\AppData\LocalLow\IronGate\Valheim\worlds_local on Windows, ~/.config/unity3d/IronGate/Valheim/worlds_local on Linux, or ~/Library/Application Support/unity.IronGate.Valheim/worlds_local on macOS.
Update both the game and the server to the same version. On the server, run an update/validate, then restart. Also ensure UDP 2456–2458 are open. For modded setups, all clients must match server mod versions.
Yes. Rename both files locally (e.g., Midgard.db → Valhalla.db and Midgard.fwl → Valhalla.fwl), upload again, then set “World Name” to Valhalla in Startup. Avoid special characters and restart.
World imported. Party time. Invite your friends and set up regular backups to keep your progress safe.